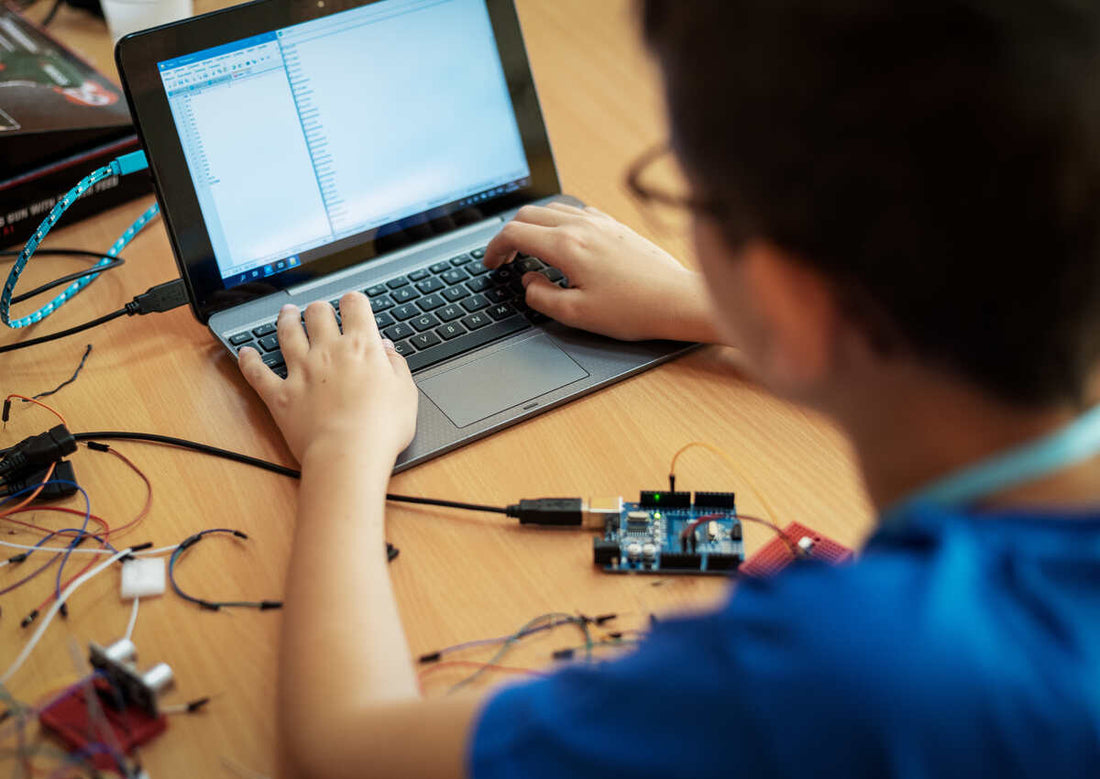
Getting Started with micro:bit: A Beginner’s Guide for Kids
Share
Welcome to the exciting world of micro:bit! This tiny, programmable computer is designed to help kids learn coding and electronics in a fun and engaging way. Whether you’re a teacher looking to introduce your students to technology or a parent eager to support your child’s learning, this guide will help you and your kids get started with micro:bit.
What is micro:bit?
The micro:bit is a compact, pocket-sized computer developed by the BBC to inspire young people to get involved in technology. It features an array of sensors, a LED display, buttons, and the ability to connect to other devices. With micro:bit, kids can create games, animations, and even control robots!
Why Use micro:bit in Learning?
-
Hands-On Learning: micro:bit offers a hands-on approach to learning coding and electronics. Kids can see their code come to life through their creations.
-
Engagement: The micro:bit is designed to be fun. Kids can create projects that interest them, from games to wearable tech.
-
Problem Solving: Working with micro:bit encourages critical thinking and problem-solving skills as kids troubleshoot and refine their projects.
Getting Started
1. What You’ll Need
Before diving into coding, gather the following materials:
-
micro:bit: Purchase one from the GTK Press store or another retailer.
-
USB Cable: To connect the micro:bit to your computer.
-
Computer or Tablet: For coding and uploading programs.
-
Battery Pack: To power the micro:bit when not connected to the computer.
-
Optional Components: These can enhance projects, such as sensors, motors, and LEDs.
2. Setting Up
Start by connecting the micro:bit to your computer using the USB cable. Visit the official micro:bit website, where you’ll find a user-friendly interface for coding. You can choose from different programming languages, including:
-
MakeCode: A block-based coding platform that’s perfect for beginners.
-
Python: For those ready to explore text-based coding.
3. Your First Project: Create a Simple Game
Let’s create a simple game using MakeCode. Follow these steps:
-
Open MakeCode: Go to the MakeCode website and select “New Project.”
-
Design the Game: Start with a basic concept. For example, create a game where the player has to press a button to score points.
-
Drag and Drop Blocks: Use the block coding interface to arrange your code. Start with the “on button A pressed” block. Under this, add a block to increase the score.
-
Display the Score: Use the LED screen to show the score. Use the “show number” block to display the player’s score each time they press the button.
-
Download the Code: Once you’re happy with your game, click “Download.” Drag the downloaded file onto the micro:bit, which will appear as a USB drive on your computer.
4. Powering Up
To play your game without a computer, connect the battery pack to your micro:bit. Now, your game can be played anywhere!
Exploring More Projects
Once you’ve mastered the basics, there are endless projects to explore:
-
Weather Station: Use sensors to measure temperature and display it on the LED screen.
-
Fitness Tracker: Create a project that counts steps using the accelerometer.
-
Interactive Stories: Program the micro:bit to tell interactive stories with buttons and lights.
Learning Resources
GTK Press provides a variety of educational resources that support the Ontario Science and Technology Curriculum. Our upcoming STEM NOW series will include comprehensive lessons and activities involving micro:bit, ensuring that students can engage deeply with coding and technology.
Conclusion
The micro:bit is more than just a gadget; it’s an educational tool that inspires creativity and innovation. By starting with simple projects, kids can build confidence and skills that will serve them well in the digital age. Encourage your child to explore, experiment, and most importantly, have fun with micro:bit. Happy coding!
